Difference between revisions of "Training/XQuartz"
From HPC
MSummerbell (talk | contribs) (→Installing XQuartz) |
m (→Installing XQuartz) |
||
| (32 intermediate revisions by 2 users not shown) | |||
| Line 2: | Line 2: | ||
==Introduction== | ==Introduction== | ||
| − | XQuartz is an open-source version of X.Org X Window System that runs on macOS, it is required to run certain cross-platform applications on macOS. | + | |
| − | + | * XQuartz is an open-source version of X.Org X Window System that runs on macOS, it is required to run certain cross-platform applications on macOS. | |
| + | * XQuartz was included with Mac OSX 10.5 (Leopard) onwards, for all subsequent releases XQuartz is not included and must be downloaded separately. | ||
==Installing XQuartz== | ==Installing XQuartz== | ||
| − | + | # Download the latest version of XQuartz from https://www.xquartz.org/ | |
| − | + | # Navigate to the Downloads folder and open the XQuartz Disk Image (XQuartz-2.8.2.dmg) | |
| − | + | # Open the XQuartz package (XQuartz.pkg) | |
| − | + | [[File:XQuartz_Package.png]] | |
| − | + | * Follow the installation steps, accept the licence agreement and choose an installation destination. | |
| − | + | [[File:XQuartz_Install.png]] | |
| − | + | * Once installation is complete log out and log in. | |
| − | + | [[File:XQuartz_Complete.png]] | |
| − | + | * Open the Terminal Application | |
| − | + | * Login to Viper ssh -Y <username>@viperlogin.hpc.hull.ac.uk | |
| − | + | ||
| − | + | ||
| + | '''IMPORTANT''' : Use the -Y option to enable windowing on the host computer. | ||
| + | |||
| + | ==Test XQuartz== | ||
| + | To test X11 support type xclock, an analogue clock should appear. | ||
| + | <pre style="background-color: #000000; color: white; border: 2px solid black; font-family: monospace, sans-serif;"> | ||
| + | [username@login01 ~]$ xclock | ||
| + | </pre> | ||
| + | [[File:XClock.png]] | ||
| + | |||
| + | ==Alternative options== | ||
| + | |||
| + | [https://www.macports.org/ MacPorts]<BR> | ||
| + | |||
| + | ==Next Steps== | ||
| + | |||
| + | * [https://www.xquartz.org/ XQuartz] | ||
| + | * [https://support.apple.com/en-gb/HT201341 Apple Support - X11] | ||
| + | |||
| + | |||
| + | |||
| − | + | [[Main Page]] / [[FurtherTopics/FurtherTopics #Compatibility| Back to Further Topics]] | |
| − | [ | ||
| − | |||
Latest revision as of 15:54, 22 August 2024
Introduction
- XQuartz is an open-source version of X.Org X Window System that runs on macOS, it is required to run certain cross-platform applications on macOS.
- XQuartz was included with Mac OSX 10.5 (Leopard) onwards, for all subsequent releases XQuartz is not included and must be downloaded separately.
Installing XQuartz
- Download the latest version of XQuartz from https://www.xquartz.org/
- Navigate to the Downloads folder and open the XQuartz Disk Image (XQuartz-2.8.2.dmg)
- Open the XQuartz package (XQuartz.pkg)
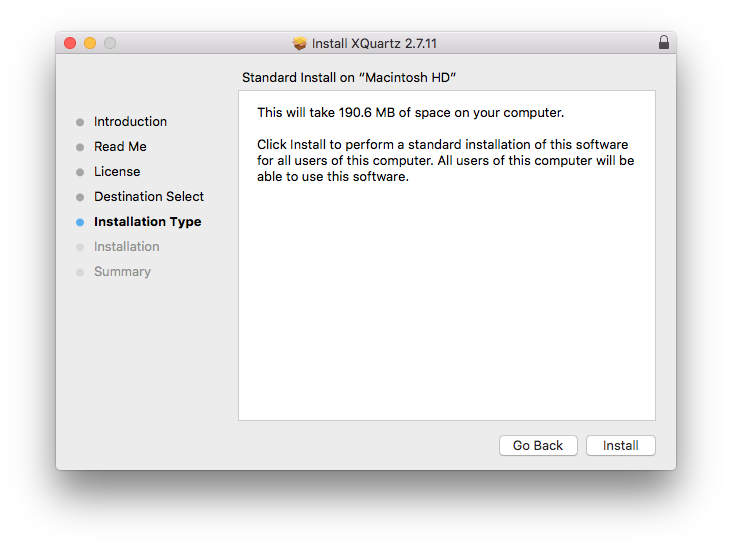
- Follow the installation steps, accept the licence agreement and choose an installation destination.
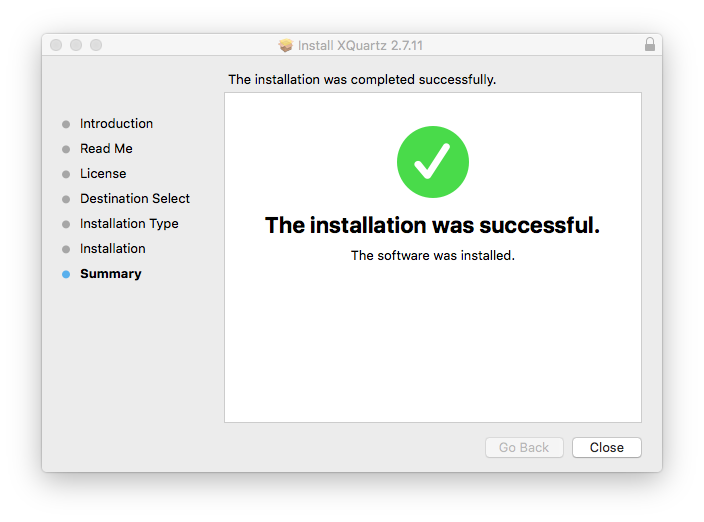
- Once installation is complete log out and log in.
- Open the Terminal Application
- Login to Viper ssh -Y <username>@viperlogin.hpc.hull.ac.uk
IMPORTANT : Use the -Y option to enable windowing on the host computer.
Test XQuartz
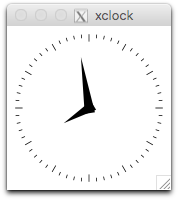
To test X11 support type xclock, an analogue clock should appear.
[username@login01 ~]$ xclock
Alternative options
Next Steps


