Training/X2Go macOS
From HPC
Introduction
X2Go enables remote access to Viper's Visualisation Nodes.
- There are two main ways to use X2Go as an XTerm terminal or MATE Desktop.
Installation
Prerequisites
- Please note before installing X2go you must install XQuartz for more information on XQuartz visit: XQuartz
- Please note if you are using X2go off campus you must be connected to the university VPN.
Installing Steps
- Download X2Go from: X2Go.
- Click the X2Go disk image located in the downloads folder.
- Click the mounted X2Go image on the desktop.
- Click and drag the x2goclient to the applications folder.
- Open X2Go Client - When launched for the first time the new session dialogue will be displayed automatically.
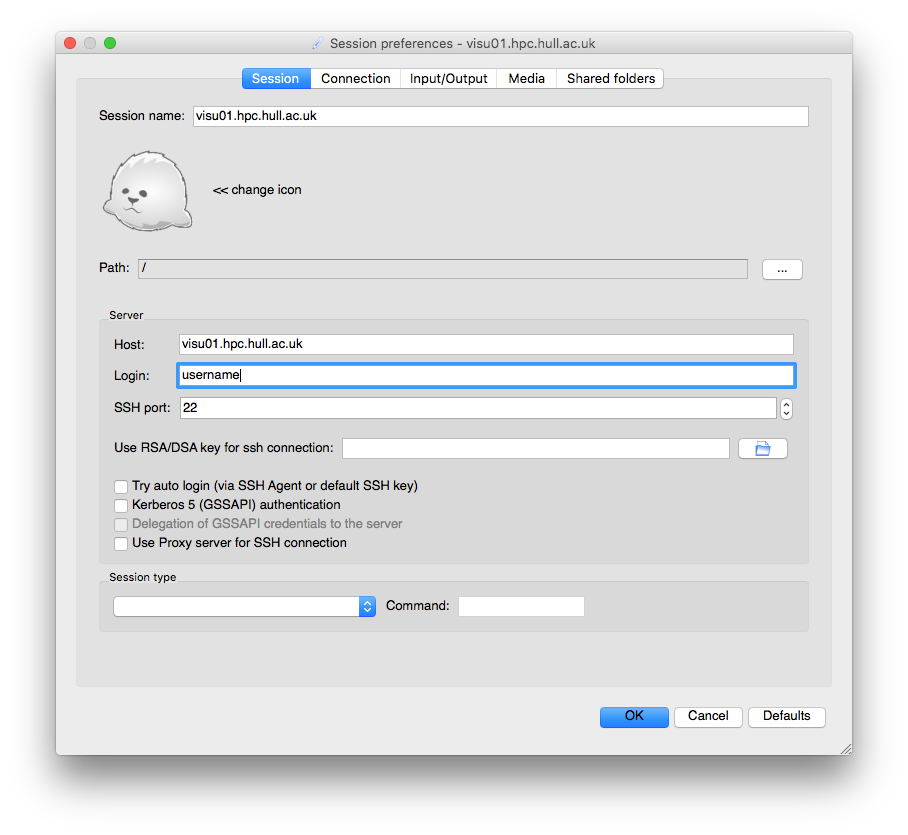
- In the "Session" tab:
- In "Session name:" enter visu01.hpc.hull.ac.uk
- In "Host:" enter visu01.hpc.hull.ac.uk
- In "Login:" enter your username
- In the Session type choose either XTerm of MATE
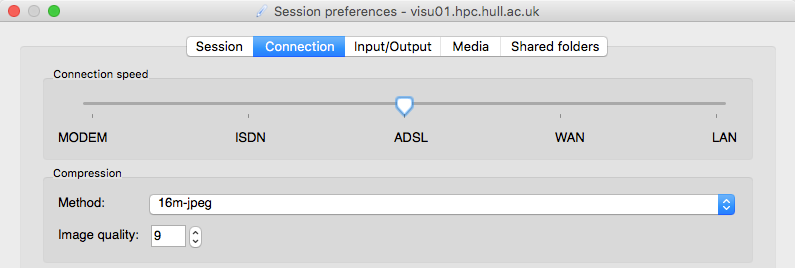
- When connecting from a university connection, set the connection speed to LAN for the best performance
- When connecting from outside the university ADSL should be adequate
- Uncheck the "Enable sound support" box
- Uncheck the "Client-side printing support" box
 9. Click "Ok", then click on the session you wish to start and enter your university password.
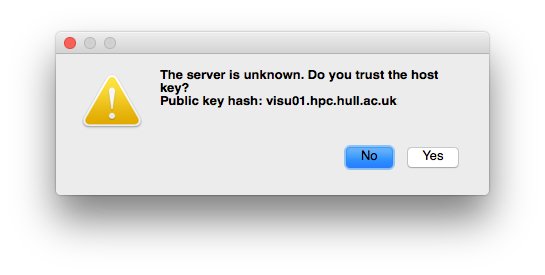
10. A pop-up will appear stating the server is unknown click "yes".
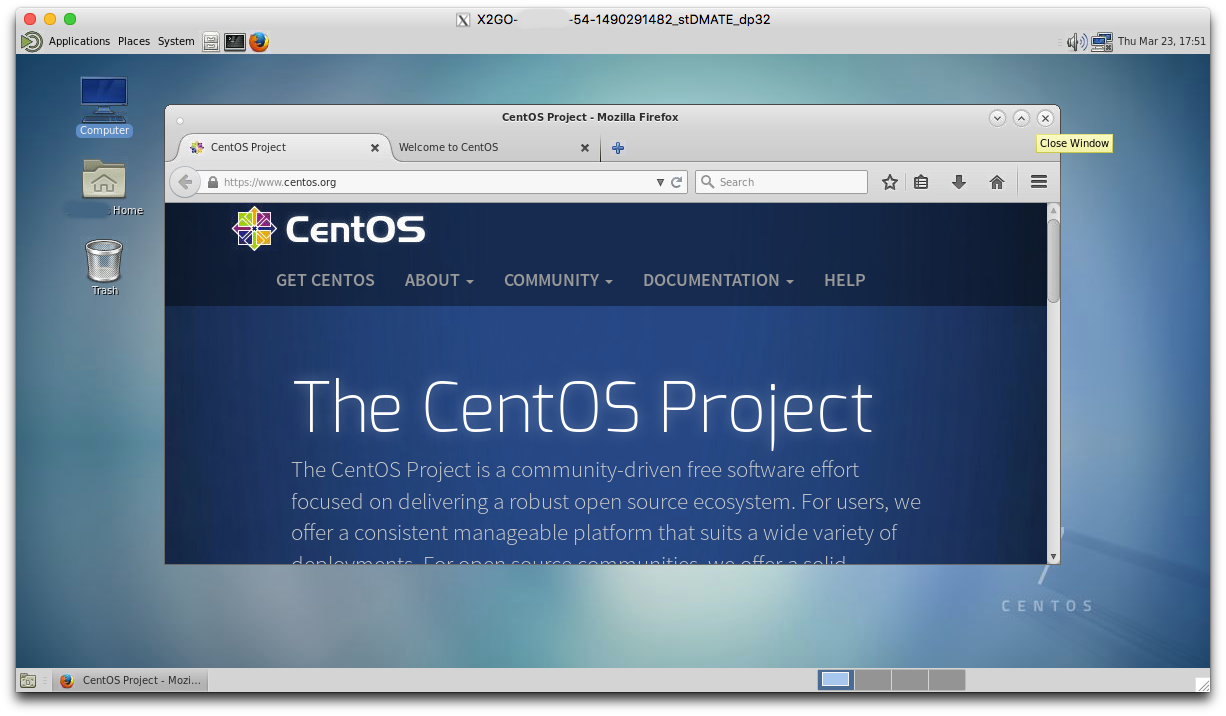
 11. Depending on your session type either an XTerm terminal or MATE desktop will appear

Next Steps


